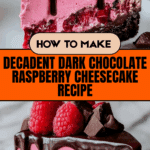
Decadent Dark Chocolate Raspberry Cheesecake Recipe
Introduction
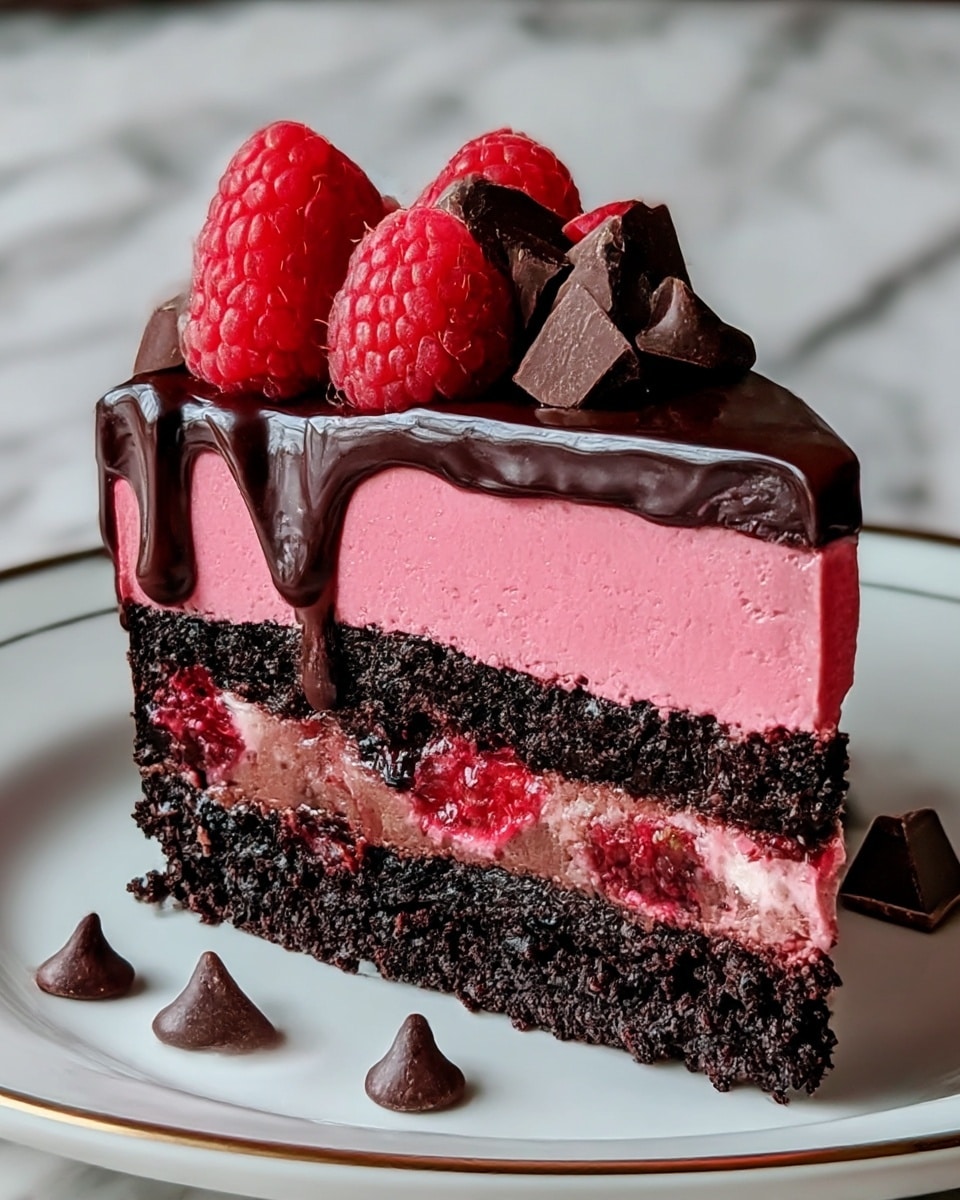
This decadent dark chocolate raspberry cheesecake combines rich chocolate with the bright tartness of fresh raspberries. It’s a perfect dessert for special occasions or whenever you want to impress guests with something indulgent yet approachable.

Ingredients
- 2 cups crushed chocolate cookies (substitute with graham crackers for a classic flavor)
- 1/2 cup melted butter (no substitutions recommended)
- 16 oz cream cheese (use full-fat brick-style for best results)
- 1 cup granulated sugar (brown sugar can be used for a deeper flavor)
- 8 oz melted dark chocolate (opt for chocolate with 60% to 72% cocoa for balance)
- 1 tsp vanilla extract (no alternatives suggested)
- 3 large eggs (beat minimally to prevent cracks)
- 1 cup fresh raspberries (frozen raspberries can be used but may alter texture)
Instructions
- Step 1: Preheat your oven to 325°F (160°C) and prepare a 9-inch springform pan by greasing it or lining it with parchment paper.
- Step 2: In a medium bowl, combine the crushed chocolate cookies with the melted butter until the mixture resembles wet sand. Press this evenly into the bottom of the prepared pan to form the crust.
- Step 3: In a large bowl, beat the cream cheese with granulated sugar until smooth. Fold in the melted dark chocolate and vanilla extract gently.
- Step 4: Add the eggs one at a time, mixing on low speed after each addition to keep the batter smooth. Then gently fold in the fresh raspberries to avoid breaking them up too much.
- Step 5: Pour the batter over the crust and smooth the top with a spatula. Tap the pan gently to release any air bubbles.
- Step 6: Bake for about 60 minutes until the center is slightly jiggly. Avoid overbaking to keep the cheesecake creamy.
- Step 7: Turn off the oven and crack the door open. Let the cheesecake cool inside for at least 1 hour before transferring it to the refrigerator.
- Step 8: Chill the cheesecake in the refrigerator for at least 4 hours, or preferably overnight, to set completely.
- Step 9: Once chilled, remove from the fridge, unlatch the springform pan, slice, and serve. Garnish with additional raspberries or a drizzle of melted chocolate if desired.
Tips & Variations
- For a smoother crust, pulse the cookies in a food processor before mixing with butter.
- Substitute graham crackers for the crust for a lighter, classic cheesecake base.
- Use brown sugar instead of granulated sugar for a richer, caramel-like sweetness.
- Be careful not to overmix the eggs to prevent cracks in the cheesecake surface.
- Add a splash of raspberry liqueur or fresh lemon zest to the batter for an extra flavor boost.
Storage
Store the cheesecake covered tightly in the refrigerator for up to 4 days. For longer storage, wrap slices individually and freeze for up to 2 months. Thaw overnight in the fridge before serving. Reheat gently at room temperature if desired, but best served chilled.
How to Serve
Serve this delicious recipe with your favorite sides.
FAQs
Can I use frozen raspberries instead of fresh?
Yes, frozen raspberries can be used, but they may release more moisture and alter the texture slightly. Be gentle when folding them into the batter to prevent excess breaking.
How do I prevent cracks on the cheesecake surface?
Minimize mixing after adding eggs, bake at a low temperature, and avoid overbaking. Cooling the cheesecake slowly by leaving the oven door ajar helps prevent cracks as well.
PrintDecadent Dark Chocolate Raspberry Cheesecake Recipe

This Decadent Dark Chocolate Raspberry Cheesecake combines a rich dark chocolate-infused cream cheese filling with fresh raspberries atop a chocolate cookie crust. Baked to creamy perfection, this dessert offers a luscious balance of tangy fruit and velvety chocolate, perfect for any special occasion or indulgent treat.
- Prep Time: 20 minutes
- Cook Time: 1 hour
- Total Time: 5 hours 20 minutes
- Yield: 8 servings 1x
- Category: Dessert
- Method: Baking
- Cuisine: American
Ingredients
Crust
- 2 cups Crushed Chocolate Cookies (Substitute with graham crackers for a classic flavor)
- 1/2 cup Melted Butter (No substitutions recommended)
Filling
- 16 oz Cream Cheese (Use full-fat brick-style for best results)
- 1 cup Granulated Sugar (Brown sugar can be used for a deeper flavor)
- 8 oz Melted Dark Chocolate (Opt for chocolate with 60% to 72% cocoa for balance)
- 1 tsp Vanilla Extract (No alternatives suggested)
- 3 large Eggs (Beat minimally to prevent cracks)
- 1 cup Fresh Raspberries (Frozen raspberries can be used but may alter texture)
Instructions
- Preheat and Prepare Pan: Preheat your oven to 325°F (160°C). Grease a 9-inch springform pan or line it with parchment paper to ensure the cheesecake releases easily after baking.
- Make the Crust: In a medium bowl, mix the crushed chocolate cookies with melted butter until the mixture resembles wet sand. Press this mixture evenly into the bottom of the prepared springform pan to form the crust.
- Prepare the Filling: In a large bowl, beat the cream cheese together with granulated sugar until smooth and creamy. Fold in the melted dark chocolate and vanilla extract until fully incorporated.
- Add Eggs and Raspberries: Incorporate the eggs one at a time, mixing on low speed after each addition to prevent overbeating. Gently fold in the fresh raspberries, taking care not to break them up too much.
- Assemble and Bake: Pour the cheesecake batter over the cookie crust in the springform pan. Smooth the top with a spatula and gently tap the pan on the counter to release any trapped air bubbles. Bake for about 60 minutes until the center is slightly jiggly but mostly set; avoid overbaking to keep it creamy.
- Cool the Cheesecake: Turn off the oven and crack the oven door open, leaving the cheesecake inside to cool slowly for at least 1 hour to prevent cracking.
- Chill: After cooling, refrigerate the cheesecake for at least 4 hours or overnight to fully set and enhance the flavors.
- Serve: Remove from refrigerator, unlatch the springform pan sides, slice, and serve the cheesecake. Optionally garnish with additional fresh raspberries or drizzle with melted chocolate for an elegant finish.
Notes
- Use full-fat cream cheese for the best texture and flavor.
- Be careful not to overmix the eggs to avoid cracks on the cheesecake surface.
- Fresh raspberries provide the best texture, but frozen can be substituted; note texture differences.
- Allowing the cheesecake to cool gradually in the oven prevents cracks.
- Chilling the cheesecake overnight enhances flavor and texture.
- To avoid soggy crust, ensure the crust is well-pressed and slightly chilled before adding the filling.
Keywords: dark chocolate cheesecake, raspberry cheesecake, chocolate dessert, baked cheesecake, holiday dessert, creamy cheesecake